Step 1: Consider Your "Main" Keyword by Collection Page
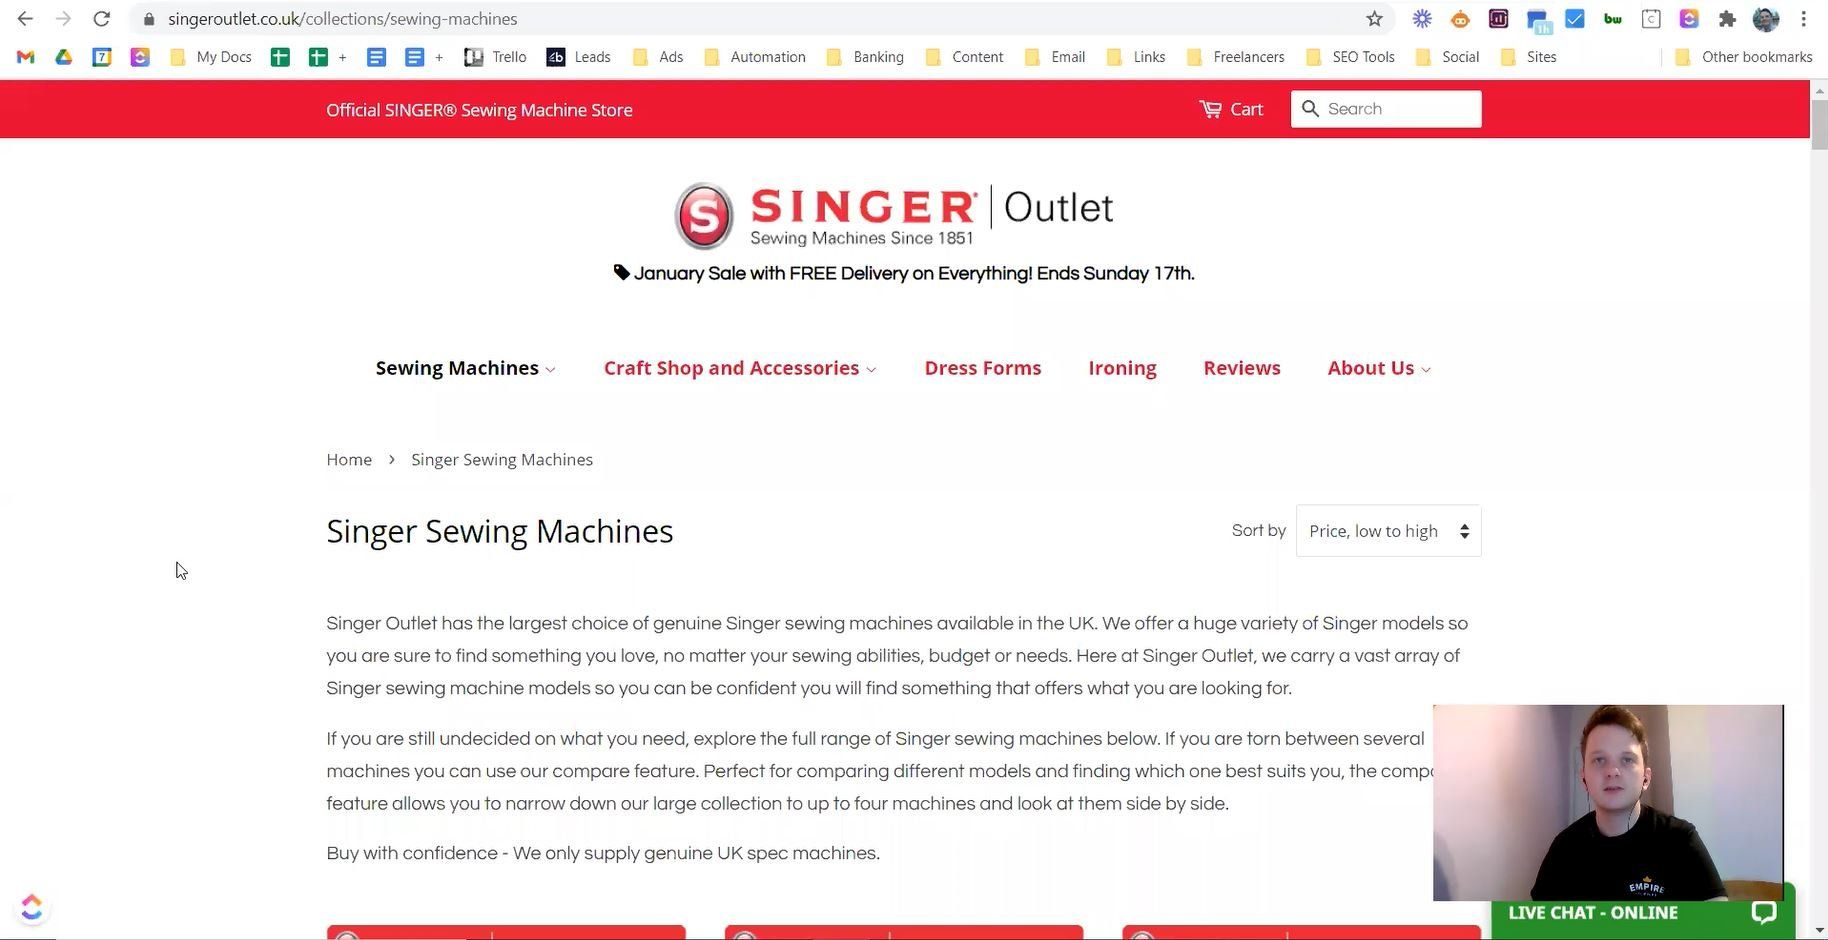
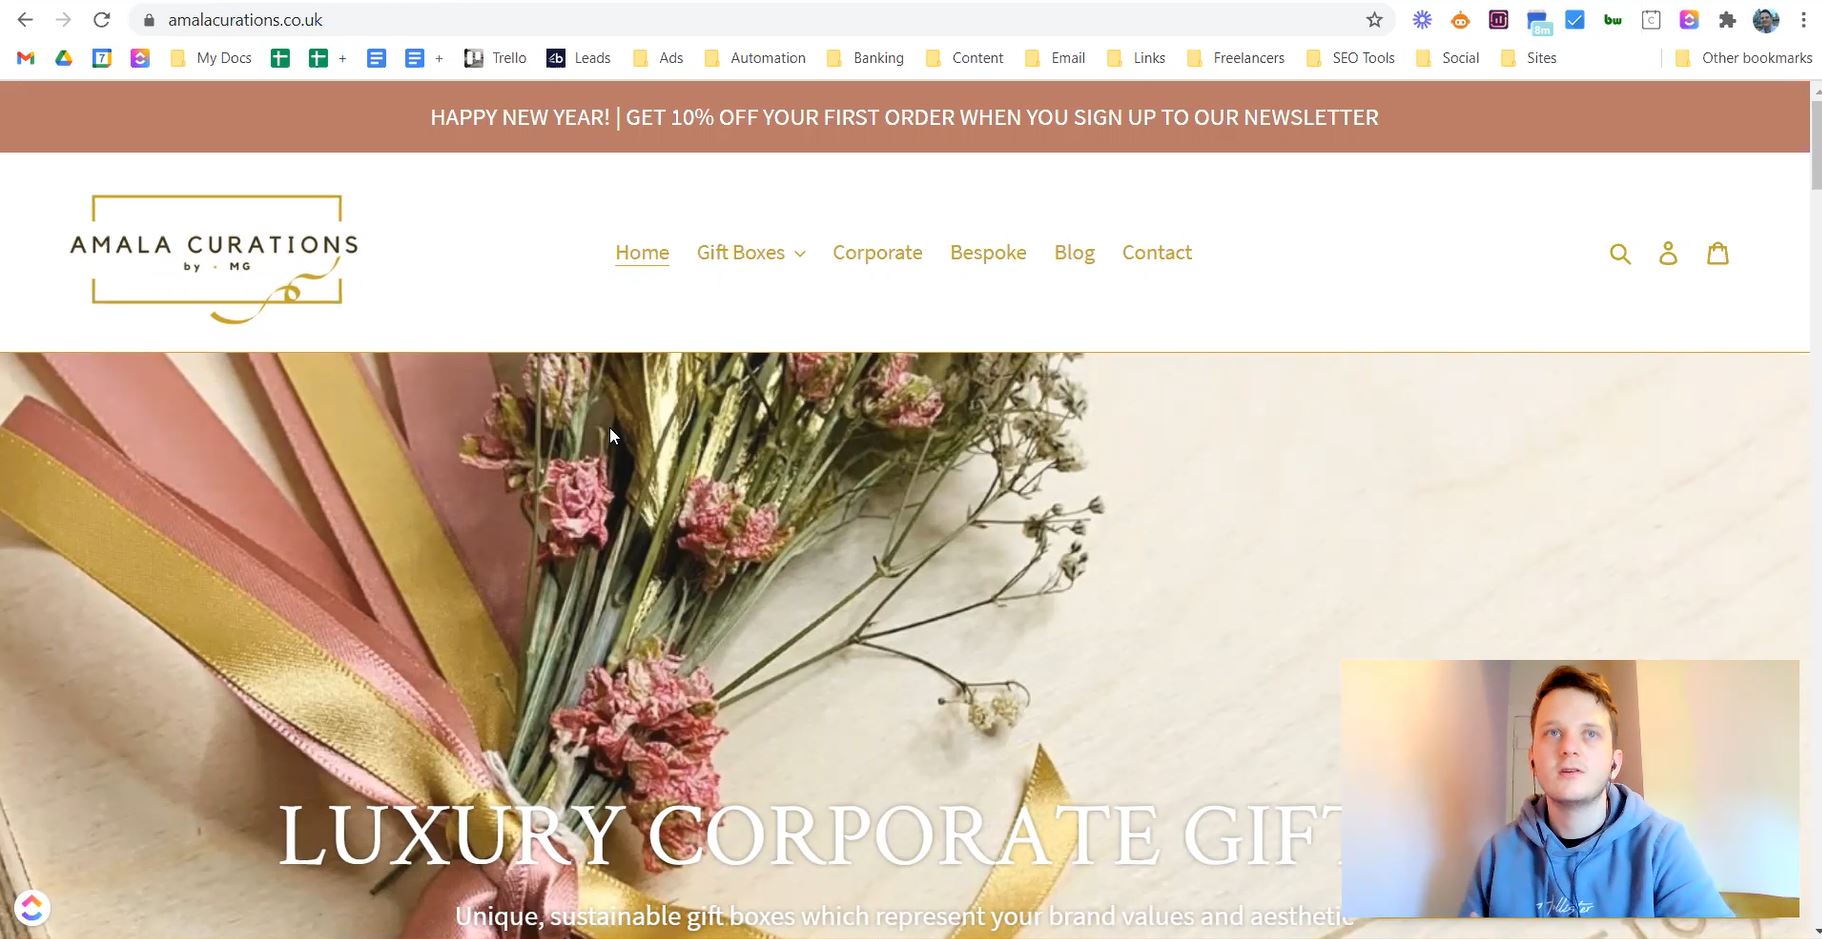
For each collection page on your site, you should have varying primary and secondary keywords. It's an important consideration to make and without proper planning, you might find yourself duplicating pages and targeting the same keyword multiple times across multiple pages.
This is one of the most common mistakes we see with Shopify stores, there's an assumption that if you sell a particular product with a particular keyword, then you should optimise all of your pages for this keyword. Whether it be a blog post, your homepage, a product page or a collection page and so on.
This, however, is particularly damaging to your site as it can dilute your main keyword across your site and put you in a position where your own pages are competing against one another for the same organic traffic. It can't be stressed enough that...
You should only have one page on your site for each keyword that you target.
The only exception to this is if you're targeting slightly different intent for a particular keyword. For example, you wouldn't want to optimise more than one page for "bamboo t-shirts" unless the intent behind each page is drastically different.
So, let's say your category page is the main page to attract people looking to "buy bamboo t-shirts", but you could also write a blog post about the "benefits of bamboo in t-shirts". They are both targeting "bamboo t-shirts" but the intent is different. One is informational, while the other is transactional.
The point here is that you shouldn't have more than one collection page targeting the same keyword, no matter how tempting it is. You'll see a much greater increase in traffic over time by having specific pages for specific searches. As opposed to multiple, moderately optimised pages that overlap in keyword targeting between one another.
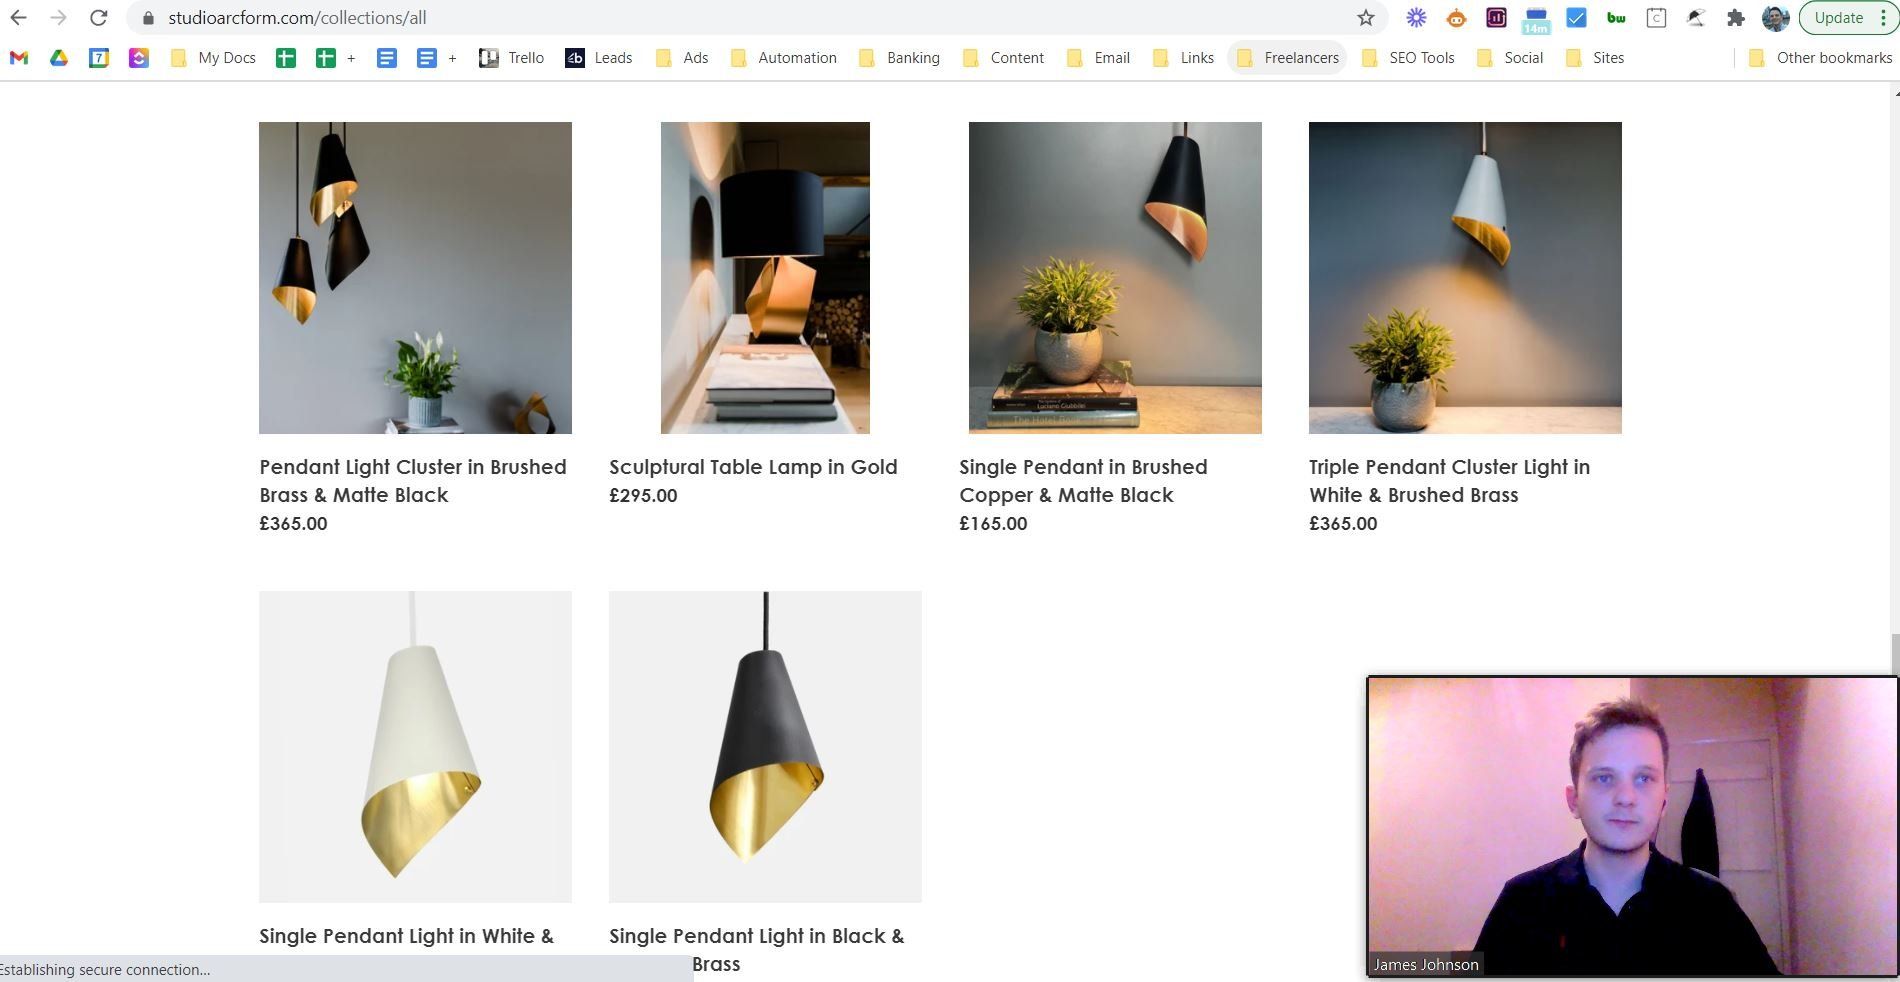
That's not to say that you can't optimise each collection page for more than one keyword, in fact this should be encouraged. However, the primary and secondary keywords should be grouped by page with no overlap between separate collections. For example:
Collection
= pendant-lights
Main keyword
= pendant lights
Secondary Keywords
= bar pendants, kitchen island lights, hanging lights
Collection
= floor-lights
Main Keyword
= floor lights
Secondary Keywords
= freestanding lights, floor lamps, lamps with floor stand, standing lamps
This method of separating keywords out into grouping them by pages is called 'Keyword clustering' and is one of the harder areas of SEO to master, so if you're doing this correctly then you'll be ahead of 90% of your competition!
Our tools of choice for keyword research are
Ahrefs
and
Semrush, although these are paid tools so if you're looking for a free keyword tool you can use
Ubersuggest.
Step 2: Consider "Long-tail" Keywords Over Generic, High-Volume Keywords
The more generic your primary keyword for each collection page, the more competition you'll be up against, and the harder it will be to rank and gain traction in the search results.
You're much better off with a
long-tail keyword
that has less competition, or a descriptive phrase that people using Google will use to search for your type of product. You'll be ahead of the curve and you won't be competing against as many other websites when it comes to ranking in the SERPs (Search engine results page).
This is particularly true for new websites, if you've got any hope at ranking for those high-volume, competitive keywords then you'll first need to gain some traction with longtail keywords.
Choosing a primary keyword with 3, 4, 5 or even 6 words in length is going to drastically decrease the potential search traffic to the page (i.e. less people are searching for this keyword as it is more specific). However, by choosing a more specific primary keyword for each collection page you'll have far less competition and it's much easier to rank.
Not to mention, the added specificity of long-tail keywords means that the traffic is much more likely to make a purchase. Someone searching for "sporty blue men's trainers with red laces" are much more likely to convert if they land on a specific collection page that sells these exact shoes vs. someone just searching for "men's shoes".
It's clear which of these keywords will have the most searches and traffic, but if you're an independent seller going up against behemoth retailers with near-unlimited SEO budgets, it's an easy decision to niche-down. You can't beat them by being more a more authoritative and trustworthy website, so you'll instead have to beat them by being hyper relevant with your target keywords and associated collection pages.
Step 3. Edit & Optimise Your Meta Data
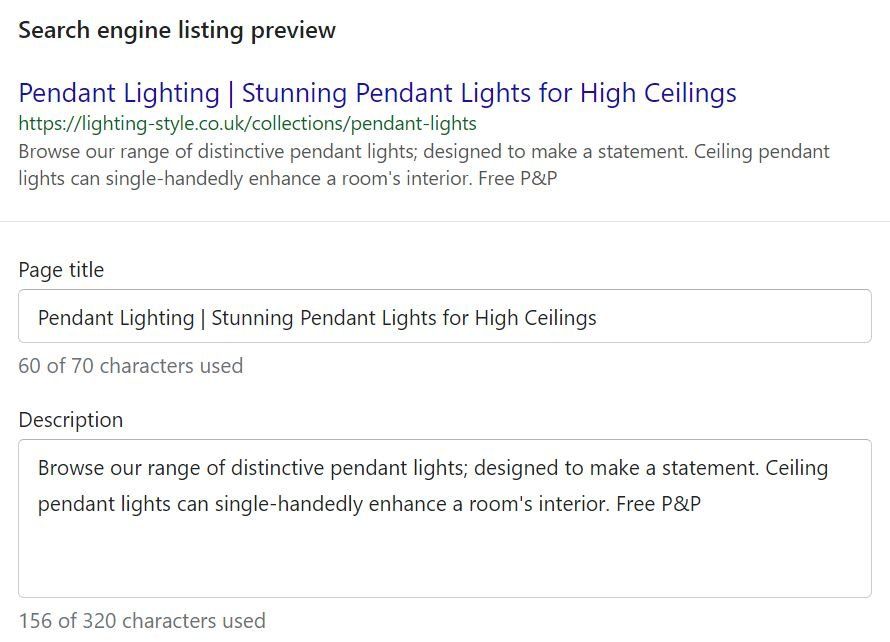
One of the first things that you should update is your meta title and meta description on the back end of Shopify. It's quick and easy to and these fields are responsible for the way in which your page is displayed in the search results, so it's pretty important that you get this step right.
Typically, the title should aim to be somewhere between
55-60 characters, and the meta description should be no more than
155 characters.
For the meta title, the aim here is to include your target keyword as close to the start of the title as possible, whilst also including any relevant secondary keywords that are associated with this page. A good starting point is to follow this structure:
Main keyword | Secondary Keyword - Brand Name
As for the meta description... This is the perfect place to entice your target audience to click through to your page. It's one thing to rank on the first page of Google but it's another to actually get that click. You've got to look at the search results as if you were a customer of yours... which result would you click on after searching for your main keyword? Why did you go for that option? Do they have intriguing copy that leaves you wanting to read more or do they establish trust?
It's an important field that will often include related keywords and phrases that become emboldened in the search, so it's very important that you replicate this throughout the description as well. Leaving out any important details or overpromising may leave the visitor feeling misled and confused about the content on your page. Once they arrive if the content doesn't match what you've described in your meta title and description then they will swiftly leave your site and move onto the next search result.
Generally speaking, it's not a great signal to Google if your visitors quickly "bounce" away from your site, so this is why it's essential to try and entice the user to click through without being misleading. If you've got a page answering a quick question then a short session time might be considered a good signal as you've quickly solved the user's query.
However, for most pages (collection pages included), the user shouldn't quickly bounce of the page so it's our job to bring them through from the SERP with a click and then satisfy the intent of their search with relevant content and products to keep them engaged on your site for longer.
Some great examples of a good call to action might be:
1. "Prices from just £9.99"
2. "Free UK Shipping"
3. "Over 200 happy customers"
4. "You won't find this product cheaper elsewhere"
5. "Hundreds of designs to choose from"
Step 4: Increase On-Page Relevance for Target Keywords
You're best chance at ranking is to make it easy for Google to understand exactly what it is your page is about.
When a potential customer is searching for your products, it's Google's job to find the most relevant pages on the internet to satisfy the intent behind that search. We need to remember that whilst Google's algorithm is incredibly clever and complex, it can't always decipher what a page is about unless you give it exactly what it needs to understand its context.
One of the best ways to do this is by optimising your content to improve on-page relevance. We've already covered the meta title and meta description which you can edit to include your target keyword where appropriate, so the next step is to include relevant and descriptive content on the page itself. It's also good practice to make sure your collection URL includes your target keyword.
Within Shopify, you can edit each collection page and write content which will display itself above the products. Your aim here should be to include your primary keyword in the first sentence and include variations of this naturally throughout the duration of the copy.
Take inspiration from the top competitors in the search results; what sub-topics do they cover? What semantic (related) keywords do they mention? How many times are they mentioned? Does your copy not only satisfy the keywords that need to be mentioned, but does it also read well and help to build trust for your brand?
TOP TIP:
Make sure that you're not
purposefully
including the keyword multiple times with slight variations, this is called keyword stuffing and can negatively affect your rankings. Instead, write for humans to create a naturally flowing description that tells your visitor why your products are great, what their benefits are, who would benefit from the product etc.
If you're doing it right, the main and secondary keywords should be evenly distributed through the copy without sounding unnatural or repetitive.
Breaking the fourth wall here, but if you take notice of this article that you're reading... How many times has "Shopify collection page SEO" been mentioned? My guess is, you've not noticed it throughout the article even though that would be the primary keyword for this blog post.
This is exactly what you should be aiming for....
Write for humans first, search engines second.
Step 5: Consider 'Splitting' Text for Improved User Experience
If you search your main keyword in Google and look through some of the competitors in the top positions you might find some of the category pages that rank have several hundred words of content which is either split above and below the products or there's a 'read more' functionality.
It's a great way to get the content on the page to increase the relevance for your primary and secondary keywords without hindering the user experience. Especially on mobile devices, as the copy will push the products further down the page so it's important to keep the user experience top of mind when adding descriptive copy.
Out of the box, Shopify doesn't have this functionality but it's not a particularly hard thing to implement if you're really looking to really level up your collection page SEO.
All you need to do to implement this is follow the steps below or watch the accompanying YouTube video:
1. Duplicate your theme as a backup by navigating to:
Online Store > Themes > Actions > Duplicate Theme
2. Once duplicated, click "Edit code" for your Theme
3. Find the template responsible for the collection pages on your site (this will vary slightly by theme). You can usually find this by navigating to the
collection.liquid
template and reading which section is used in there.
4. Once you've found the section responsible for your collection page click into it and simply search the code with Ctrl + F to find:
"{{ collection.description }}"
5. Delete.
6. Replace with:
{% assign descriptions = collection.description | split: "<!-- split -->" %}
{% assign first desc = descriptions[0] %}
{assign second desc = descriptions[1] %}
{{ first_desc }}
7. Paste the second description right before the final div tag of the product grid wrapper:
{{ second_desc }}
8. Ensure to 'wrap' the second description in the same div class as the first description by copying and pasting the div class from earlier and adding
</div>
underneath the second description.
9. Now all you need to do is navigate to a collection page where you would like to implement the split function.
10. Show the HTML for the text box.
11. Copy and paste:
<!-- split -->
...into the HTML text box where you would like the text to break.
12. That's it! Now you can save and preview your work. Any text after the split tag should show beneath the products.
Step 6: Create a Network of Internal Links Pointing to Collection Pages
Now that your collection page is properly optimised from an on-page perspective, the next thing to try and implement is to include links FROM relevant pages on your site TO your collection pages with relevant anchor text (the clickable blue text).
Not only do internal links help your visitors to better navigate your site but it also shows Google which pages on your site are more important to you and your visitors. It also allows authority to flow naturally throughout your site which can give these pages a boost in the rankings.
You can use your primary keyword and secondary keywords as the anchor text to further improve the relevance of your collection page for your target keywords.
For example:
A blog post titled "How to make bamboo clothes"
links to...
Bamboo t-shirts collection page
with the clickable text:
"Bamboo t-shirts"
Some of the best places to start with internal links are pages that are closely associated with the target page, so all you need to do is a site search in Google with your target keyword and your brand name like this:
"main keyword" + site:yoursite.com
This will show you all of the pages on your site that are relevant for this keyword, so they would make a great place to include a link to your collection page from within the content on these pages. You may find several blog posts that are related to this keyword which would make the perfect place to add a link to your collection page.
You can even link from product descriptions to relevant collection pages, or even from related collection pages to other collection pages. Your most important collection pages should always be included within your site's navigation (menu) and your homepage if possible.
Final Thoughts
So there you have it... 6 Steps to optimise your Shopify store's collection pages with SEO. These tips just scratch the surface for the amount of optimisations that can be made for Shopify stores. However, with these initial optimisations in place your collection pages should be well on their way to climbing the search results.
If you're looking for more advice with your store, we do offer
Shopify SEO Services so we'd be more than happy to have a chat.
Or, if you're happy doing your SEO yourself, why not check out our
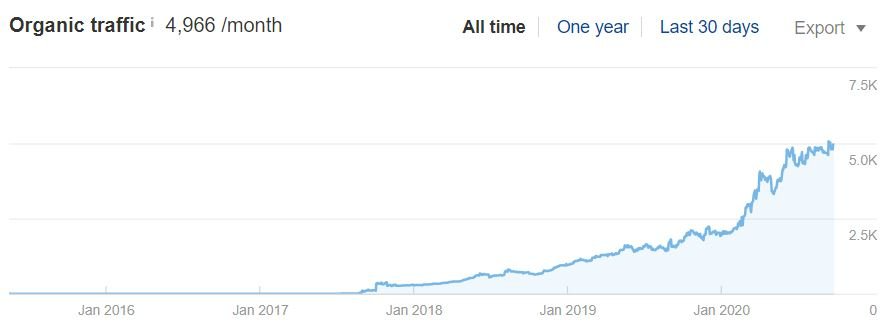
Shopify SEO case study for more tips!
Hope you enjoyed this article - come back soon for more free SEO advice.

